My Favorite Halloween Science Activity
It’s that time of year again! Leaves are swirling, temperatures are dropping, and kids are getting hyped for sugar overload.
Meanwhile, your favorite science teachers are busting out what are undoubtedly some of the most enjoyable activities of the year!
If you’re feeling a little unimaginative this year and are looking for something new and exciting, I’ve got you covered.
I look forward to this Halloween science lesson all through the dreaded October teacher slump that we all know so well.
I hope it will get you feeling pumped as we head into the challenging holiday months ahead.
This post includes instructions and materials for my favorite Halloween science activity, where students get to carve pumpkins the fun way!
Halloween Science: Exploding Pumpkins Lesson Description
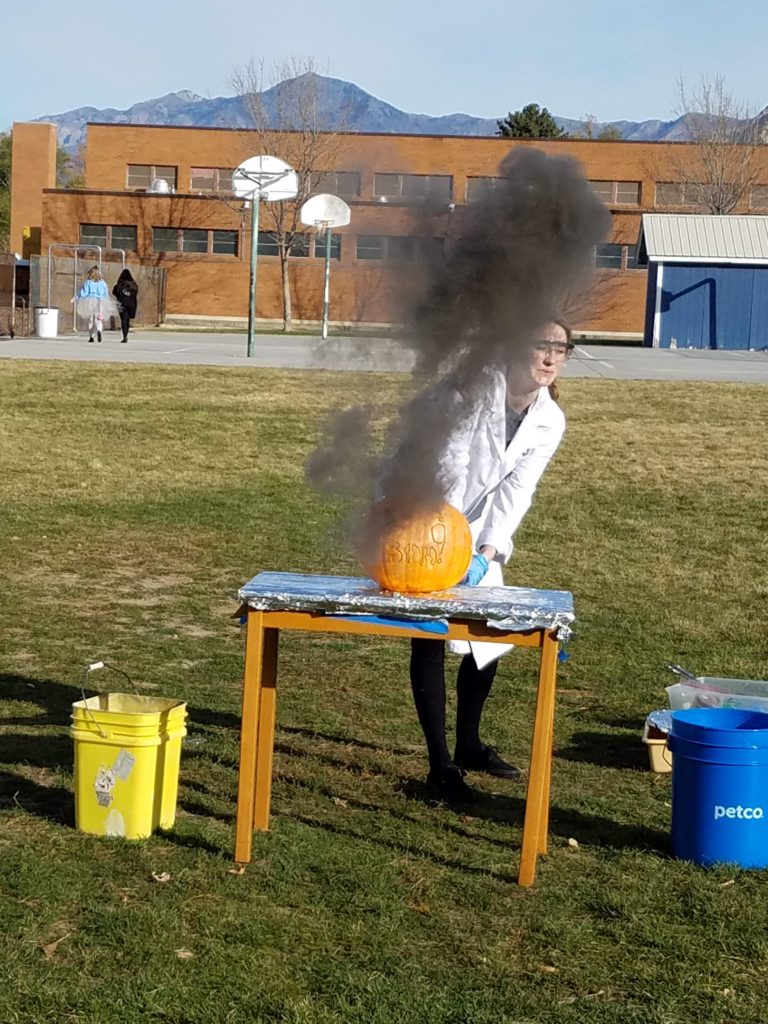
Summary: Students will use a chemical reaction to pop out the pieces of their carved pumpkins! Watch this quick video from Steve Spangler to get the idea!
Time Required: At least two 45 minute class periods. I usually stretch it out for the whole week of Halloween if I have time!
Materials Needed:
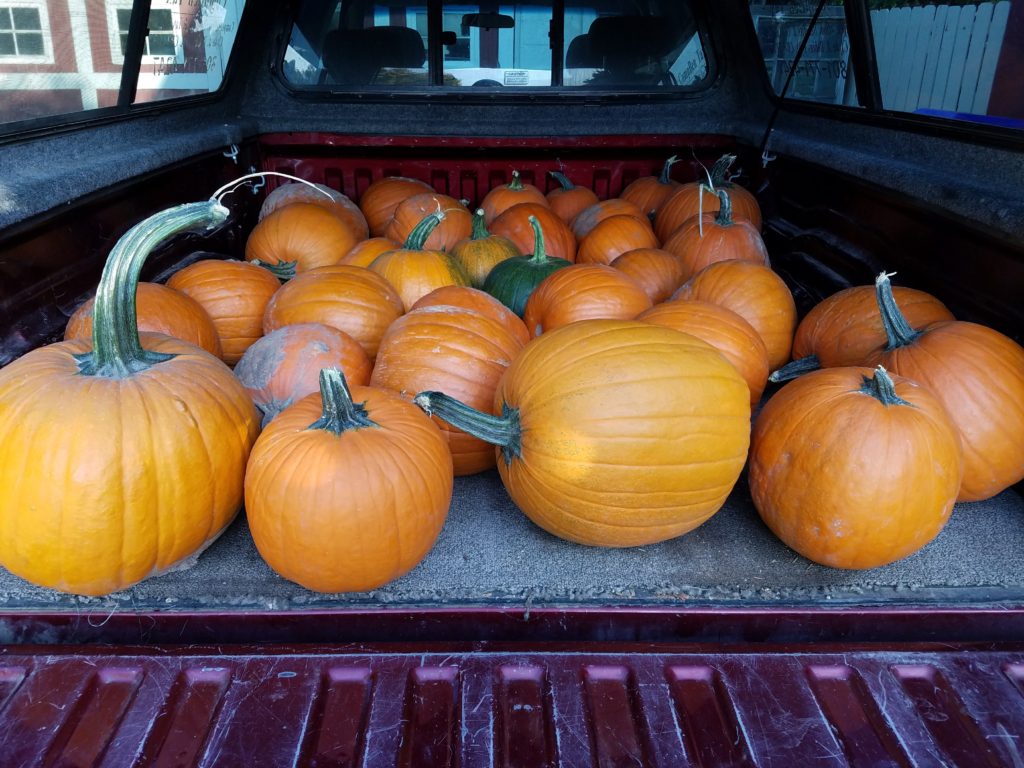
- Pumpkins (medium to large size) – I started growing my own a few years back, but I recommend looking for vendors that sell by the pound to save $$!
- Calcium Carbide (CaC2) – If you are purchasing for the classroom, order from a chemical supplier like this one. Otherwise, you can get a small bottle for pretty cheap on Amazon, just make sure to read the safety & storage instructions!
- Water
- Plastic cups – 5 to 8 oz ideally. Walmart is cheapest, but here’s a link if you want to buy in bulk.
- Lighter or Blow torch
- Drill with 3/8 inch bit (optional)
- Waste container – I just use an old bucket filled with water.
- Personal Protective Equipment – goggles, lab coat, chemical gloves
- Extra garbage cans for clean up
- Fire extinguisher (just in case!)
- Students Slides for Lab Report (preview below)
- Peer Grading Rubric
Essential Question:
- Which <insert variable of choice here> will optimize energy release for the exploding pumpkin reaction?
Learning Goals:
- Students can design a controlled experiment & balance chemical equations.
- Students will create a summary presentation representing their experiment and reactions.
Introducing the Activity
This reaction has been used for many years by chemistry teachers to teach about exothermic reactions and alkynes, but it came to my attention through Steve Spangler and Science Bob.
I love to hook students into this activity by showing this video from Jimmy Kimmel!
I’ve structured this lesson as an inquiry activity that requires students to design and carry out a controlled experiment.
Over the years, my classes have played around with several variables in order to create the “ideal” explosion.
To support students through the process, I created an interactive Google Slide presentation!
Each student or group creates a digital copy of these Slides in which they plan and record their experiment.
Here is a preview of the student slides:
You can download these FREE SLIDES by clicking the button below!
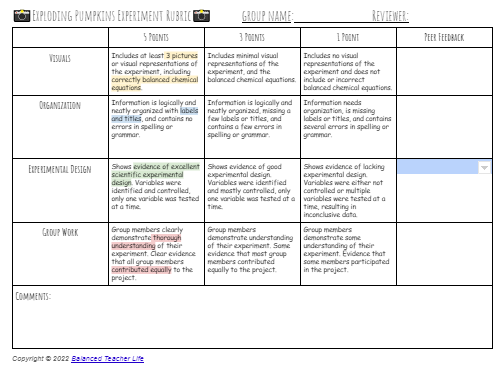
Included in the slides is a link to the peer grading rubric, which you can preview below!
I use this rubric to guide students through giving peer feedback on each others’ experimental design, as well as to simplify grading for me.
Win win!
Finally, I will also send you a teacher version of the slides when you submit your email in the form below! (Email is required so students can’t access the key).
This teacher version of slides includes a key for the pre-lab and student examples for the experiment design.
Free Download!
Enter your email here to receive the TEACHER VERSION of my Exploding Pumpkins Google Slides!
Thank you!
You have successfully joined our subscriber list.
Exploding Pumpkins Safety
If fire, explosions, and chemicals make you a little nervous, please don’t give up on this activity!
I promise that you can manage this activity safely if you follow the precautions outlined below.
- First, review the Safety Data Sheets for each of the chemicals involved in the reaction. I’ve linked those here for convenience:
- Next, select a well-ventilated outdoor area in which to complete the activity.
- Third, be prepared with all the necessary personal protective equipment!
- For teacher:
- Safety Goggles
- Gloves
- Lab coat or apron
- Extra-long Tongs – so you can pick up and dispose of flaming pumpkin chunks
- For students:
- Safety Glasses
- Gloves if students will be handling the chemical. (Check your district chemical hygiene plan for a list of approved chemicals. In my district CaC2 is on the “teacher only” list for handling, so my students do not touch it.)
- Optional: Lab coats or aprons
- For teacher:
- Finally, be prepared with fire-extinguishing equipment. I always have a bucket of water and a fire extinguisher ready, just in case.
NOTE: The small scale of the reaction helps to minimize risks and make safety manageable. That said, if you are homeschooling, it might be best to select an alternative chemical reaction with less hazardous risks.
See the “Variations” section below for more ideas!
How to Set Up for Exploding Pumpkins
The prep for this activity is actually pretty minimal. You can read through the steps or watch the quick video below to get the idea!
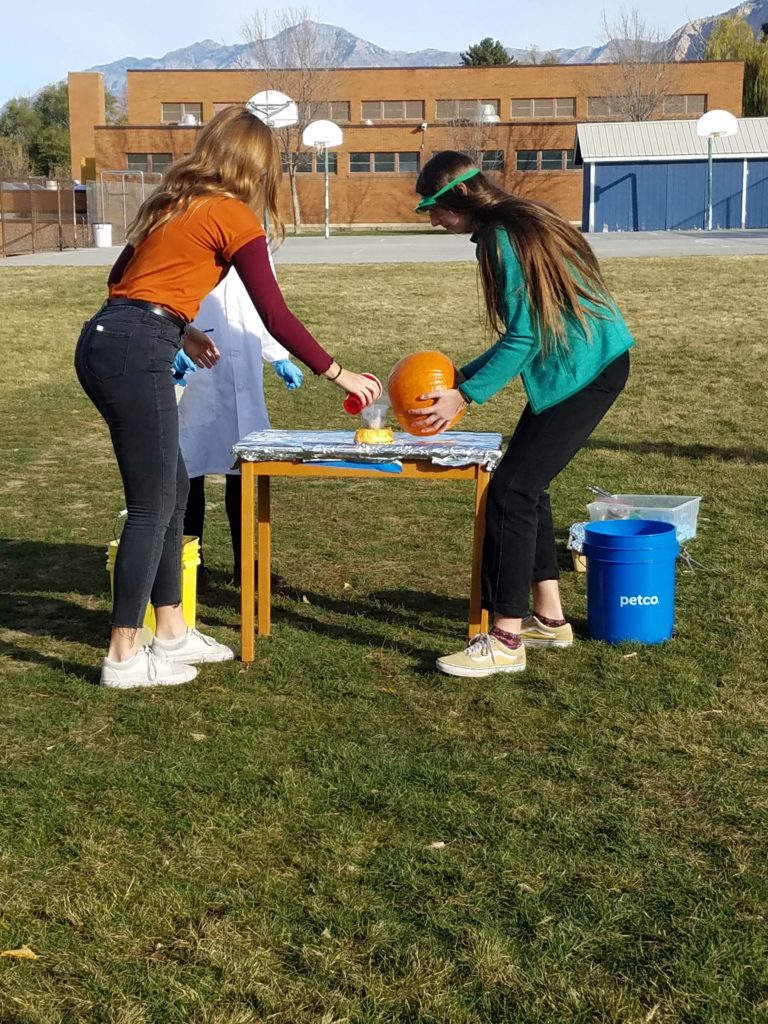
- First, gather all the materials & prepare all the necessary safety equipment as outlined below.
- Then, measure approximately 1 gram of CaC2 into a plastic cup. Make one cup for each pumpkin you plan to explode.
- Next, measure approximately 20 mL of water in a second container. Students will pour the water into the CaC2 cup inside the pumpkin to start the reaction. To make it quicker, I just bring out a bucket of water with a cup that I have pre-marked with a fill line at 20 mL.
- Use a drill or have students carve a small hole in the back of each pumpkin where you will ignite it after the gas builds up. The smaller the better, but it needs to be big enough to fit the lighter through it.
- Finally, set up a little platform for the pumpkins. I use a small table covered with aluminum foil. This makes it easy to clean up and prevents my wooden table from getting burned.
Variables for Testing

Like everything in science, the reaction doesn’t always work perfectly, so I love to have students explore some variables!
Here are a few of the variables I like to discuss with students before they design their experiment:
- Reactant concentration – How much water is ideal for 1 gram CaC2? I don’t allow them to change the CaC2 mass, but they can increase the water volume.
- Pressure – Needs to build up enough pressure to pop, but not so long that the gas starts leaking out the cracks. How much time is ideal for gas build-up?
- Size – Large pumpkins vs small pumpkins. What size of pumpkin give the best pop?
- Seal – Gas escapes when not sealed well. Different cutting techniques, carving from top vs bottom, duct taping lid. What type of seal works best?
- Other ideas – Temperature, humidity, different gourds (squash, watermelon, one year we even blew up an eggplant!)
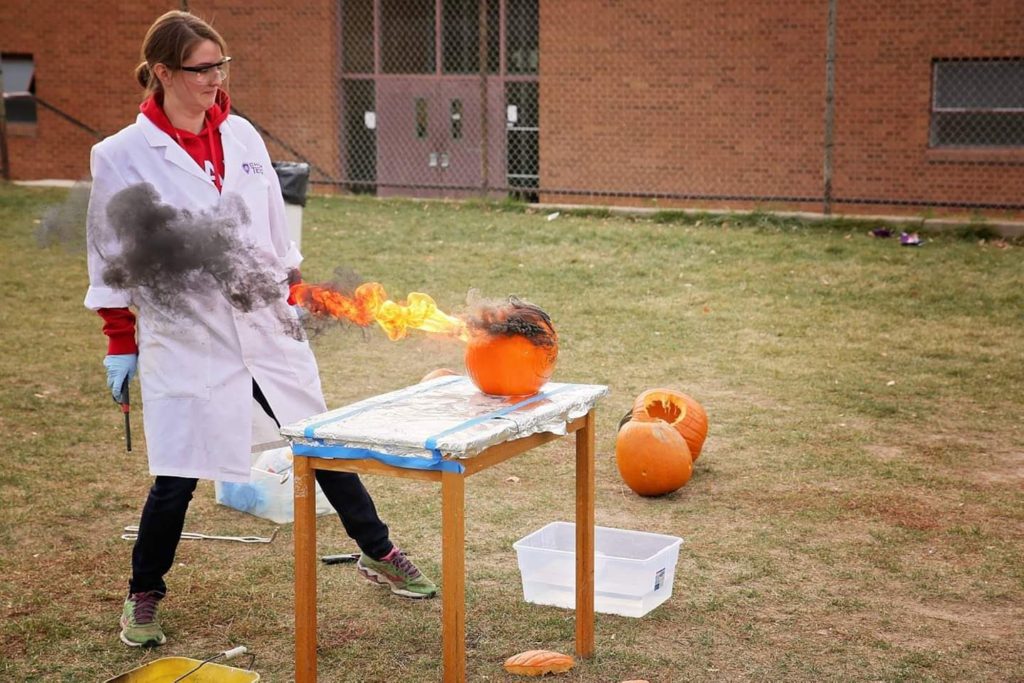
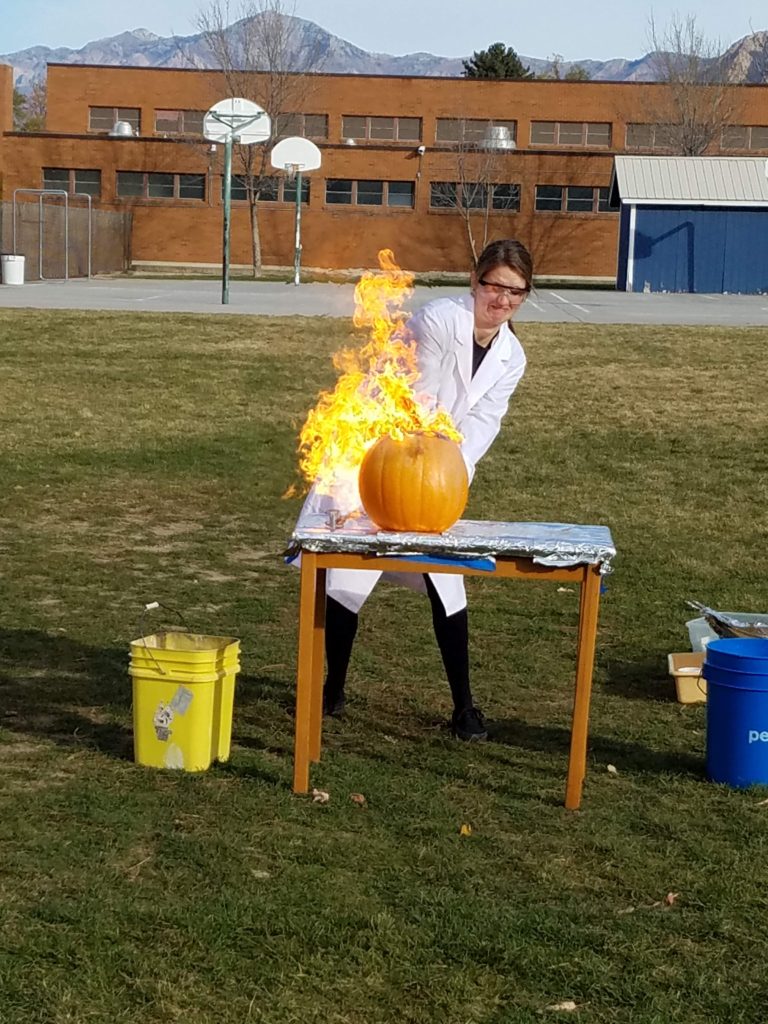
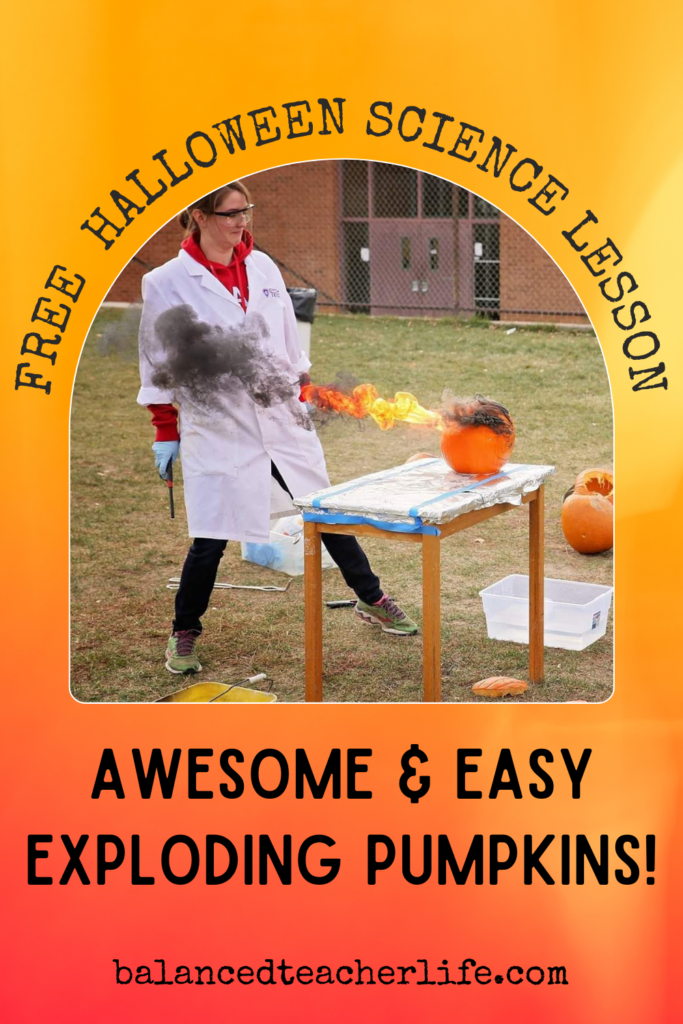
Exploding the Pumpkins!
Connecting Halloween Science to Curricula
Possible applications for chemistry classrooms:
- Chemical Reactions (combustion, exothermic)
- Balancing Equations
- Stoichiometry
- Products & Reactants
- Bonding (ionic, covalent, triple bonds)
- Gas Laws
- Conservation of Matter
Possible applications for general science classrooms:
- Variables & Experimental Design
- Chemical & Physical Changes
- States of Matter
- Conservation of Matter
- Energy Transfer
- Balancing Equations
- Lab Safety
General & Cross-Curricular Applied student skills:
- Inquiry
- Critical thinking
- Problem solving
- Collaborative groups
- Observing
- Analyzing
- Summarizing
- Communication
- Digital skills
Variations on this Halloween Science Activity
Using H2 instead of Acetylene
I’ve never tried it in the pumpkin, but I believe you could get similar results to this activity by generating H2 from sodium borohydride and water.
Here are some fun examples of hydrogen explosions:
Build a Calcium Carbide Cannon
Another fun idea is to build a calcium carbide cannon like the one in this video!
This could also be a great addition to my “Thanksgiving Science Activity: Potato Shooters” here!
How was it?
I would LOVE to hear your feedback for this lesson! How did it go? What other fun Halloween science lessons have you tried in your classroom? Please share in the comments!
And if you loved this lesson, check out my science lesson library!
Free Download!
Enter your email here to receive the TEACHER VERSION of my Exploding Pumpkins Google Slides!
Thank you!
You have successfully joined our subscriber list.
Pingback: Thanksgiving Science: Easy & Inexpensive Potato Shooters! - Balanced Teacher Life