Newton's Second Law of Motion - Bowling Lab
Get ready to turn your classroom into a mini bowling alley! Because seriously, it’s the most fun way to teach the second law of motion!
This is the second lesson in my 3 part series of physics lessons for junior high students, each lesson on one of Newton’s three laws of motion.
If you missed part one, you can find it here: Mars Lander Lab: Newton’s First Law of Motion! BUT they also work great as stand-alone lessons too if you’ve already got it covered.
As with all my hands-on science lessons, it can get a little chaotic, but I guess that’s my style?
But mostly, I just love making science FUN for students and sparking their interest in a subject that is often perceived as “too hard.” This is especially true for physics, so this is a great way to show kids that physics can be fun!
Lesson Description
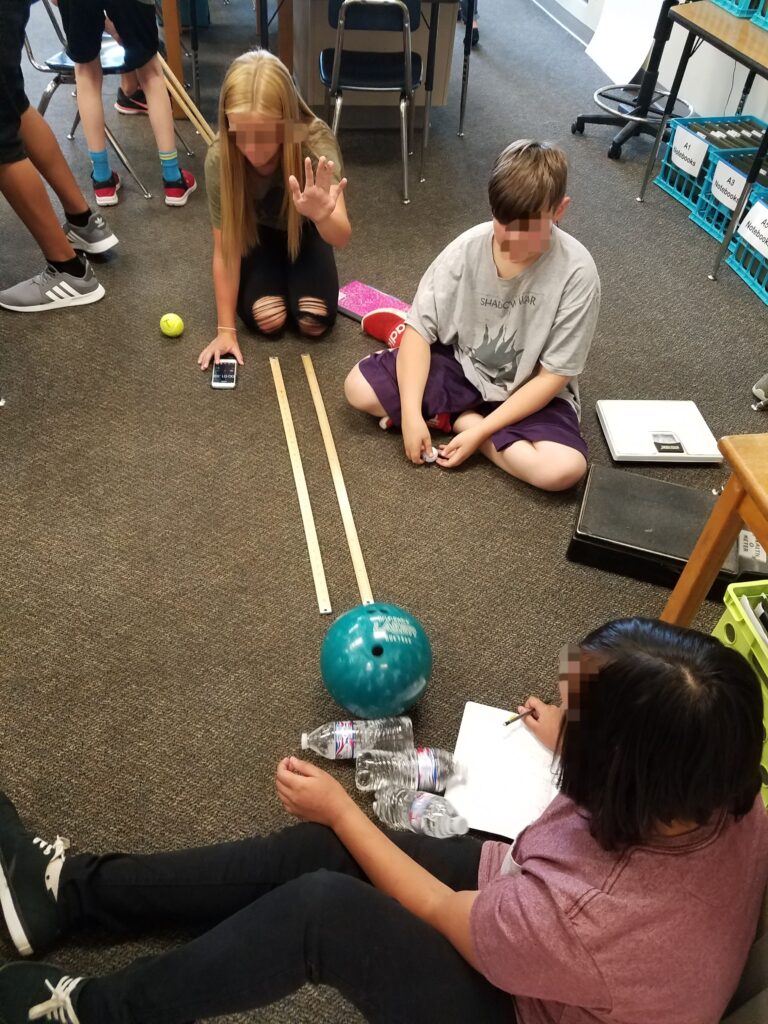
Summary: Students learn about the relationship between force, mass, and acceleration by creating their own mini bowling alley. Students explore different variables (mass of the ball/pins, incline of the lane, speed of the ball…) to see which will give them the highest bowling score. If you’re unfamiliar with bowling, check out this video: How to Play Bowling.
Learning Objective: Students will investigate the relationship between force, mass, and acceleration by bowling.
Time Required: Flexible, but I usually use one 70-minute class periods.
Materials Needed:
- Bowling Lab Slides – Instructions for students and “lab report” template
- Bowling Balls – I provide an assortment of available balls for students. I love having balls of similar size but different mass, as it facilitates good discussion about controlled variables. I’ll put some affiliate links below, but check your local thrift store first! I’ve built up quite a collection of bowling balls over the years, all thrifted for next to no cost.
- Ping pong balls or practice golf balls
- Golf balls
- Tennis balls
- Baseballs
- Pickleballs
- Soccer ball (size 5 is closest to a bowling ball)
- Bowling ball – these get pricey (this is the cheapest one I could find on Amazon), but I’ve found them at local thrift stores for around $10. Check there before you buy new!
- Bowling pins – Again, I provide an assortment of options so that students can repeat their experiments with different masses/sizes to better verify their results.
- Water bottles
- Markers – I let the kids borrow my Expo markers and they work great, but any fat marker will do as long as it is fat enough to stand on end.
- Plastic bowling pins – my toddler has this Melissa & Doug bowling set and they are great light weight plastic pins.
- Foam bowling pins like this are really ideal, but a bit more pricey.
- 2×4 scraps (cut about 8 inches tall and balanced on the skinny end)
- Meter sticks – some kids like to use these to make ramps or bumpers for their bowling lanes so it’s good to have a few on hand!
- Timers – because you just never know when a kid is going to want to time something.
Lesson Resources
I use Slides to guide my class through this activity (see video preview below). Everything you need to know about the activity is in those slides!
I’ve created a teacher version which includes a sample lab report & answer key for all the practice and discussion questions. If you’d like access to the teacher version, please submit you email below and I will send that straight to your inbox!
Feel free to edit the slides to your needs and share with your team teachers. I just ask that you respect the copyright. Thank you!
Bowling Slides
Submit your email below and I'll send you the teacher version of the Slides for this activity!
Thank you!
You have successfully joined our subscriber list.
Bowling with Newton's Second Law of Motion
I divide the activity into a few segments.
First, the set up.
I always have students set up their lab report before we get started. You can have students write the lab report on paper, in a notebook, or if you’re into digital, I share a forced copy of the Slides above and students can then type directly into those Slides. I’ve used all these different methods for the lab report and love the digital option myself, but do what works for you!
If you’re interested in seeing what this looks like, watch for my upcoming post on how to hybridize digital & paper interactive science notebooks! This is seriously one of the best things I ever did in my classroom and I am SO excited to share it with you!
Second, the testing.
Once students have their procedure outlined, I give them a stamp of approval and let them have some freedom to test and explore. This is always my favorite part of the day, despite the little bit of chaos. Starting with the lab report set up and also very clear behavior expectations really helps students be successful during this segment.
Third, the analysis.
So often I find myself rushing to clean up and finish the activity part and I end up cutting the analysis part short. BUT it is SO critical to end each activity with a little time to reflect and think about what it means and what they experienced. Sometimes I will stretch this activity to 2 days just to make sure that I give students enough time to really think critically about their learning experience.
I am always amazed at how the kids are able to describe the relationship between force, mass, and acceleration BEFORE I ever show them the formula F=ma. You just have to give them time to reason it out.
How was it?
I would LOVE to hear your feedback for this lesson! How did it go? What other fun activities are you using to teach the second law of motion? Please share in the comments!
And be sure to check out Newton’s Laws Part 1 if you missed it!
For more hands-on science activities, check out my science lesson library here.